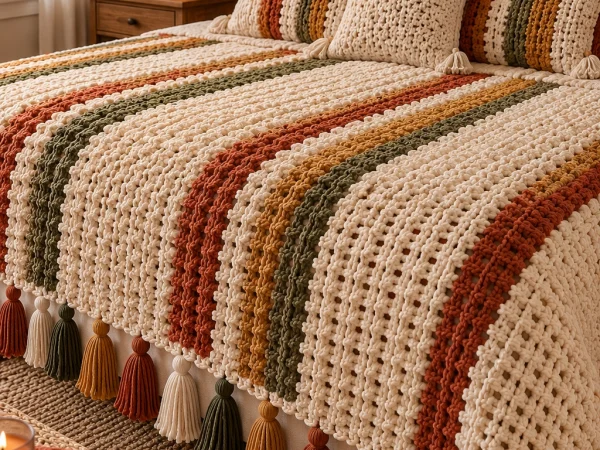
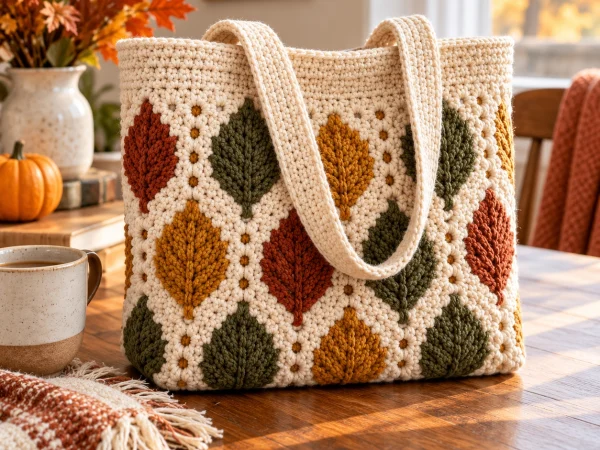
Autumn Cable Crochet Blanket Pattern – Sage, Rust & Cream
Beginner Friendly
Perfect for those just starting their crochet journey, with clear instructions and simple techniques
Single-Day Project
A satisfying project you can complete in a single afternoon or evening.
Handmade Gift
A beautiful keepsake — free forever. Read online or print at home.
About This Autumn Cable Crochet Blanket Pattern – Sage, Rust & Cream
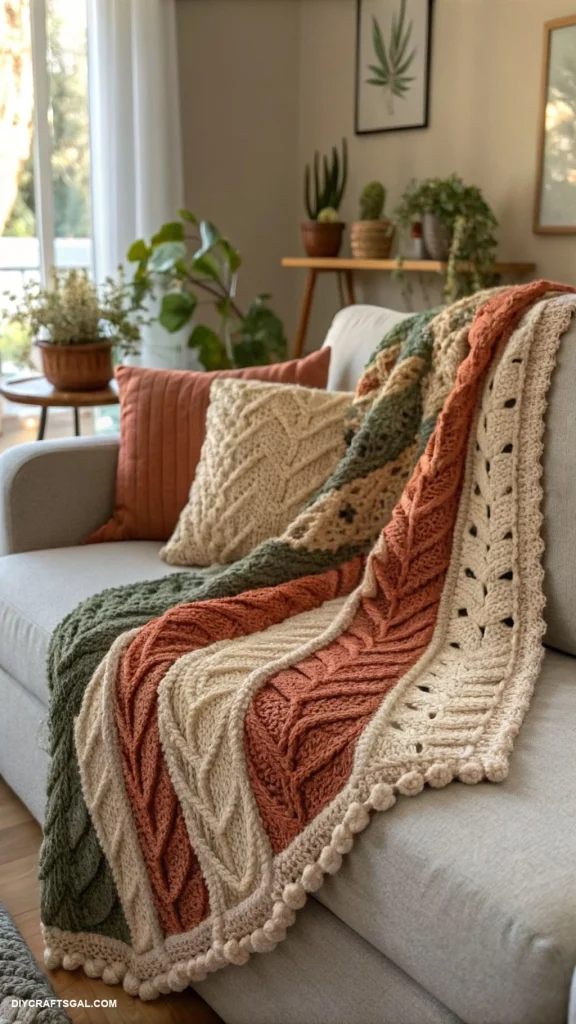
This crochet cable blanket pattern creates a richly textured autumn throw inspired by the cozy blanket shown above. Wide vertical panels alternate between deep sage green, warm cream and burnt rust, while raised crochet cables and leaf-like motifs give the blanket its beautiful dimensional appearance.
A neutral cream border frames the entire piece, and a row of soft crochet bobbles along the outer edge adds the final cozy handmade detail. It is a gorgeous statement blanket for a sofa, reading chair or the foot of a bed.
Materials
- Worsted / Aran #4 yarn – deep sage green 700-800 g
- Worsted / Aran #4 yarn – burnt rust / terracotta 900-1000 g
- Worsted / Aran #4 yarn – warm cream 1000-1200 g
- 5 mm crochet hook 1
- 5.5 mm crochet hook optional for tighter cable sections
- Large yarn needle 1
- Stitch markers 8-12
- Scissors 1 pair
- Blocking mats and pins optional
Abbreviations
chchainsl stslip stitchscsingle crochethdchalf double crochetdcdouble crochettrtreble crochetFPdcfront post double crochetBPdcback post double crochetFPtrfront post treble crochetskskipststitchstsstitchesreprepeatRSright sideWSwrong sideFOfasten offFinished Size
- Throw: approximately 125 × 165 cm / 49 × 65 in
- Main panels: approximately 22-25 cm wide
- Border: approximately 5 cm wide
- Bobble edging: approximately 2-2.5 cm deep
The blanket can easily be made wider by adding additional textured panels.
Blanket Construction
The blanket is constructed from five long textured panels that are crocheted separately and then joined.
Make:
- 1 sage green cable panel
- 1 warm cream cable panel
- 1 burnt rust leaf cable panel
- 1 warm cream cable panel
- 1 burnt rust cable panel
After joining, work a warm cream border around the entire blanket and finish with the bobble edging.
Basic Cable Panel
Ch 42.
Row 1
Dc in 4th ch from hook and in every ch across. Turn.
Row 2
Ch 2, dc in first 5 sts.
FPdc around next 4 sts, dc in next 4 sts.
Repeat across, keeping 5 plain dc stitches at each outer edge.
Turn.
Row 3
Ch 2.
Work dc over dc stitches and BPdc around each raised post stitch.
Turn.
Creating the Raised Cable
Row 4 – Cable Crossing Row
Ch 2, dc in first 5 sts.
For each 4-stitch cable:
- Skip the first 2 post stitches.
- FPtr around the next 2 post stitches.
- Working in front of the stitches just made, FPtr around the 2 skipped post stitches.
- Dc in the following plain stitches.
Repeat across the row.
Row 5
Work the stitches as they appear: dc over dc and BPdc over the raised cable stitches.
Rows 6-9
Repeat Rows 2-5.
Continue this cable repeat until the panel measures approximately 155 cm / 61 in.
Raised Leaf Panel
The rust-colored center panel uses a wider branching cable to imitate the large leaf motif visible in the blanket.
Ch 46.
Foundation Row
Dc in 4th ch from hook and across. Turn.
Row 2
Ch 2, dc in first 7 sts.
FPdc around next 2 sts, dc in next 4 sts, FPdc around next 2 sts.
Dc across the center 8 sts.
FPdc around next 2 sts, dc in next 4 sts, FPdc around next 2 sts.
Dc across remaining sts.
Forming the Leaf Branches
On RS rows, gradually move the raised post stitches toward the center of the panel.
Branch Row A
Cross each pair of FP stitches diagonally inward using FPtr stitches.
Branch Row B
Work BPdc over all raised stitches from the previous row.
Branch Row C
Cross the raised stitches inward again.
Center Row
Cross the two central cable sections to form the pointed center of the leaf.
Then reverse the placement of the crossings over the following rows so the raised lines move outward again.
This creates an elongated diamond/leaf shape.
Leaf Motif Repeat
Repeat the following sequence throughout the panel:
- 4 rows moving cables inward
- 1 central crossing row
- 4 rows moving cables outward
- 2 plain textured rows
Repeat until the panel reaches approximately 155 cm.
FO.
Cream Openwork Side Detail
For the decorative openwork section visible near the cream edge, replace one cable repeat with this simple lace sequence.
Row 1
Ch 2, dc in first 4 sts.
*Ch 2, sk 2 sts, dc in next 3 sts.*
Repeat across the decorative section.
Row 2
Ch 2.
Dc into dc stitches and work 2 dc into each ch-2 sp.
Row 3
Work FPdc around selected dc groups to create raised vertical leaf-like lines.
Row 4
Work BPdc over the raised stitches and dc across remaining stitches.
Joining the Panels
Block all five panels before joining.
Arrange them in the following order:
Sage → Cream → Rust → Cream → Rust
- Place two panels RS together.
- Thread a long piece of matching yarn onto a yarn needle.
- Use mattress stitch along the complete seam.
- Match rows carefully as you work.
- Do not pull the seam too tightly.
- Repeat until all panels are connected.
Outer Border
Join warm cream yarn in any corner.
Round 1
Ch 1 and sc evenly around the entire blanket.
Work 3 sc into each corner.
Round 2
Ch 2.
Hdc in every stitch around.
Work 3 hdc into each corner stitch.
Round 3
Ch 1.
Sc around, working 3 sc into each corner.
Round 4
Repeat Round 2.
Bobble Edging
The small cream bobbles give the blanket its soft decorative finish.
Bobble
In the same stitch:
- Yarn over, insert hook into stitch and pull up a loop.
- Yarn over and pull through 2 loops.
- Repeat this process 4 more times in the same stitch.
- You should have 6 loops on your hook.
- Yarn over and pull through all loops.
- Ch 1 to close the bobble.
Edging Repeat
*Sc in next 3 sts, bobble in next st.*
Repeat around the blanket.
At corners, adjust the number of sc stitches slightly so one bobble sits neatly near each corner.
Join and FO.
Optional Matching Cushion
Use leftover cream yarn to create a matching textured cushion like the one shown with the blanket.
Make two approximately 45 × 45 cm panels using the basic cable repeat.
Place the panels together and sc around three sides. Insert a cushion form, then crochet the final side closed.
Color Variations
- Autumn: sage + rust + warm cream
- Christmas: forest green + burgundy + ivory
- Neutral: oatmeal + taupe + cream
- Vintage: dusty rose + olive + antique ivory
- Coastal: slate blue + sand + cream
- Modern: charcoal + camel + ivory
Making a Larger Blanket
For a larger bed blanket, add additional cable panels rather than dramatically increasing the width of each panel.
For approximately 175 × 210 cm, make seven panels:
Sage → Cream → Rust → Cream → Sage → Rust → Cream
Extend every panel to approximately 200 cm before joining.
Finishing
- Check all cable crossings and seams.
- Weave in every yarn tail securely.
- Lay the blanket flat.
- Lightly dampen or steam block according to your yarn’s care instructions.
- Shape the corners and border.
- Avoid flattening the raised cables while blocking.
- Allow the blanket to dry completely.
- Gently reshape the bobbles with your fingers.
Frequently Asked Questions
It is best for an intermediate crocheter or a confident beginner who already understands double crochet and post stitches. Practice a small cable swatch before beginning the full blanket.
Yes, but separate panels make the large cable sections easier to manage and allow you to control the width and color placement more precisely.
Raised post stitches naturally contract the fabric. If the difference is significant, use a slightly larger hook for the cable sections or loosen your tension.
Yes. Chunky yarn will produce an even more dramatic texture, but the finished blanket will be considerably larger and heavier unless you reduce the number of stitches and panels.
Absolutely. Finish after the final hdc or sc border round for a simpler, cleaner edge.
Keep your post stitches relaxed, avoid overly tight edge stitches and block each panel before assembly. A structured outer border also helps the completed blanket lie flatter.
Follow the care instructions printed on your yarn label. For a heavily textured blanket, gentle washing and supported drying help protect the raised cables and prevent stretching.
The finished Autumn Cable Crochet Blanket Pattern – Sage, Rust & Cream